How to Use a Meat thermometer for Perfect Results
Do you ever stare at a roasting chicken and wonder if it is done? We have all been there. You poke it. You slice into it. You watch the juices run out. By the time you serve it, the meat is dry and sad. There is a better way.
Learning how to use a meat thermometer changes everything in your kitchen. It takes the stress out of cooking. You stop guessing and start knowing. Your steaks come out juicy. Your chicken stays tender. Your holiday turkey becomes legendary.
I remember the first time I used one. I felt like I had found a secret kitchen weapon. Suddenly, I was in control of my cooking. Let’s get you that same feeling.
Why You Need a Meat Thermometer Now
Many home cooks think thermometers are only for fancy chefs. Trust me, they are not. Using one is the smartest thing you can do for your food. It offers two huge benefits: safety and flavor.
Safety First
Nobody wants to make their family sick. Undercooked chicken or pork poses real risks. You cannot see or smell bacteria. Heat is the only thing that kills it. A thermometer tells you exactly when your food hits that safe temperature zone.
Flavor Protection
Overcooking is the enemy of flavor. When you cook meat too long, its muscle fibers tighten. They squeeze out all the moisture. You end up with something tough and dry. A thermometer lets you pull the meat off the heat at the perfect moment. You get both safety and deliciousness.
Consistency
No more guessing. No more second-guessing the cooking time. You’ll cook with confidence every time.
Choosing the Right Meat Thermometer
Not all thermometers work the same way. You have choices. Let’s look at the main types you will find in stores.
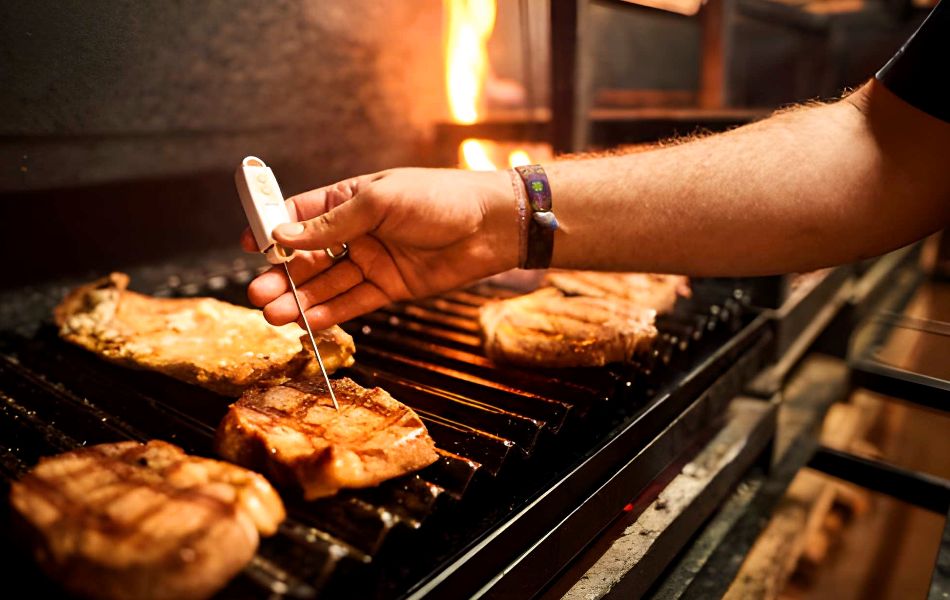
Instant-Read Thermometers
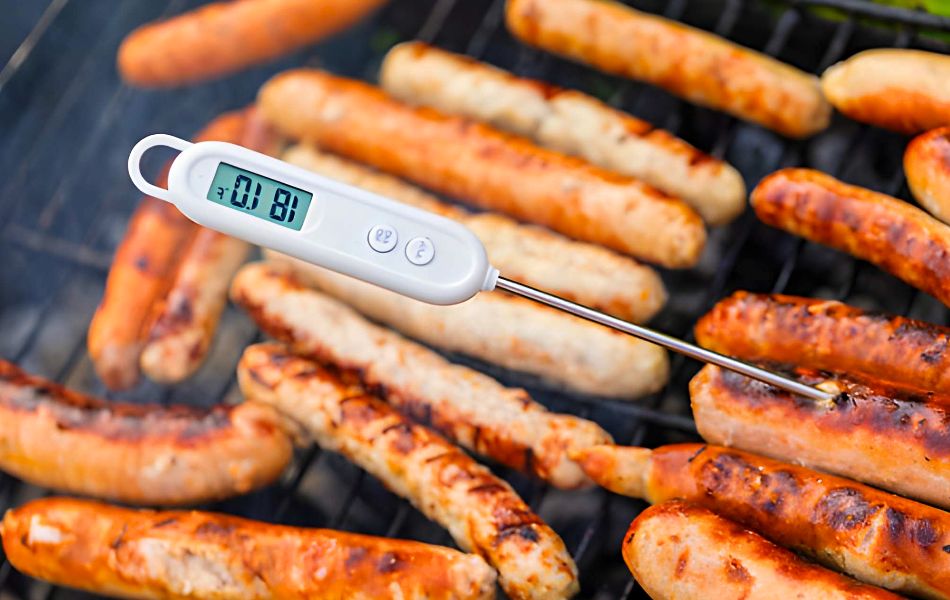
These are my personal favorite for most jobs. You hold them in your hand. You open the oven or grill, stick the probe in, and get a reading in seconds. They are fast and accurate. They suit steaks, chops, burgers, and chicken breasts. Look for one that gives a reading in 3-5 seconds.
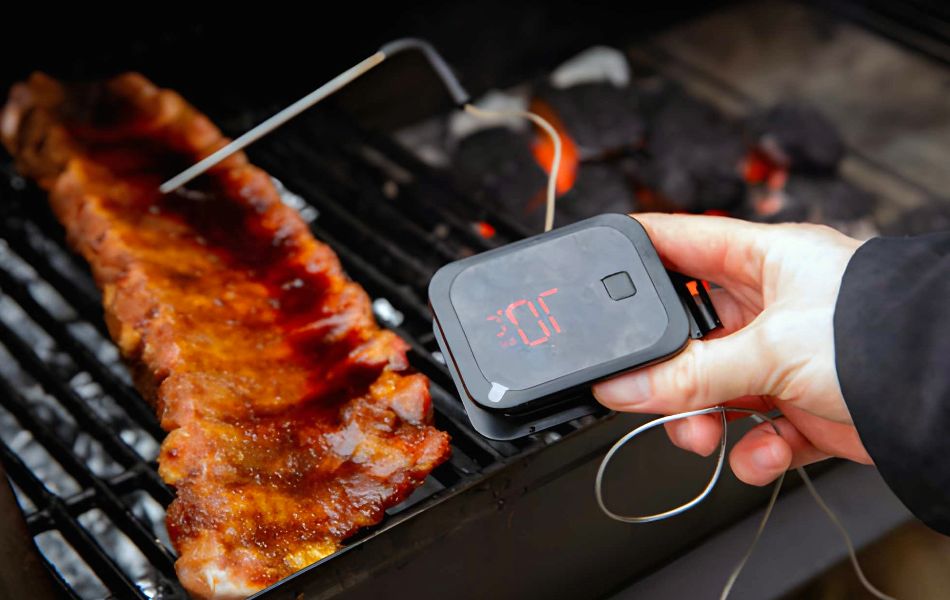
Leave-In Probe Thermometers
These are fantastic for big roasts or slow-cooked meats. You insert the probe before cooking. A heat-safe wire connects to a display unit outside the oven. Some newer models even connect to your phone. I love these for Thanksgiving turkey. You set an alarm for your target temperature and relax.
How to Use a Meat Thermometer Step-by-Step
Ready to try it? The process is simpler than you think. Follow these steps for spot-on results.
- Find the Thickest Part: This is the most critical step. You want to measure the temperature at the center of the meat. Look for the thickest section. For a whole chicken, this is usually the thigh. For a steak, it is right in the middle.
- Avoid Bone and Fat: Bone conducts heat differently than meat. It will give you a false reading. Stay away from big pockets of fat or gristle, too. If you hit bone, pull the probe back a bit or try a new spot.
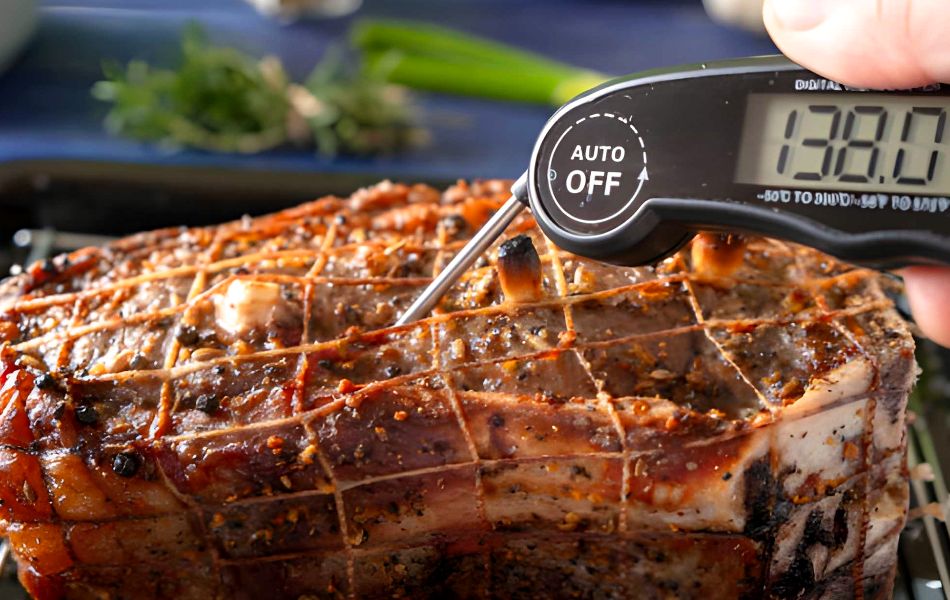
- Insert the Probe Correctly: Push the probe in gently. For thin cuts like burgers or chicken breasts, insert it from the side. This ensures the sensor at the tip sits in the center. If you go from the top on a thin burger, you might poke through to the hot pan.
- Wait for the Readout: Hold the thermometer steady until the temperature stabilizes, usually in 3-5 seconds for instant-read thermometers. Using a leave-in thermometer makes it easy to monitor heat levels throughout cooking.
- Clean Up Immediately: Wash the probe with hot, soapy water after each use. You do not want to transfer bacteria from raw meat to cooked food. I keep alcohol wipes nearby for a quick clean while I cook.
Temperature Cheat Sheet
You do not need to memorize every number. Knowing a few basics helps. Here is a quick guide based on USDA safety recommendations.
| Meat Type | Safe Minimum Temp | Notes |
|---|---|---|
| Poultry (Chicken/Turkey) | 165°F (74°C) | Includes whole, parts, and ground |
| Ground Meats (Beef/Pork) | 160°F (71°C) | Bacteria gets mixed in during grinding |
| Pork Chops/Roasts | 145°F (63°C) | Allow a 3-minute rest time |
| Beef, Lamb, Veal Steaks/Roasts | 145°F (63°C) | For medium doneness; allow 3-minute rest |
| Fish and Shellfish | 145°F (63°C) | Or until flesh is opaque and flakes easily |
| Leftovers and Casseroles | 165°F (74°C) | Ensure everything is reheated safely |
For steak doneness preferences, use these targets:
- Rare: 125°F
- Medium-Rare: 135°F
- Medium: 145°F
The Secret of Carryover Cooking
Here is a pro tip that will change your cooking forever. Meat continues to cook after you take it off the heat. We call this carryover cooking. The internal temperature can rise by 5 to 10 degrees while the meat rests.
If you want a chicken breast to be 165°F, take it off the grill at 160°F. Let it rest for five minutes. The temperature will climb to 165°F on the cutting board. If you wait until it hits 165°F on the grill, it might reach 170°F or more while resting. That means dry chicken.
I learned this the hard way with a pork loin. Now, I always pull my meat a little early.
Common Mistakes to Avoid
Even with a great tool, things can go wrong. Watch out for these common pitfalls.
- Measuring Too Soon: Every time you open the oven, you lose heat. Trust your recipe’s timing. Start checking about 10 minutes before the estimated finish time.
- Poking Too Many Holes: Every hole lets juice escape. You want that juice in the meat, not the pan. Try to check in the same spot if you must measure twice.
- Touching the Bone or Pan: Bone gets hot fast. If your probe touches bone, the reading will be high. You might think the meat is done when it is still raw inside.
- Forgetting to Rest the Meat: After cooking, let meat rest for 5–10 minutes. This crucial step allows the juices to redistribute. Cutting into it too soon results in a dry meal.
Tips for Perfect Results
Here are some additional pro tips to help you master your meat thermometer:
- Use Multiple Readings: For large cuts, like roasts or whole poultry, take readings from different areas to ensure even cooking.
- Calibrate Your Thermometer: Every so often, check your thermometer’s accuracy by sticking the probe into a glass of ice water. It should read 32°F (0°C). If not, calibrate it or consider replacing it if it’s off by too much.
- Try New Recipes: Use your thermometer for more than just meat! It works wonders for baking bread, reheating leftovers, or making custards.
See Also – 8 Brisket Cooking Tips Every BBQ Enthusiast Should Know
Your Turn to Cook with Confidence
Cooking should be fun. It should be an act of love, not a source of anxiety. A thermometer removes the fear. You stop worrying about undercooked food. You stop apologizing for dry pork chops.
You become the cook who nails the steak every time. You become the one who makes the juiciest Thanksgiving turkey. All because of one simple tool.
So, grab your thermometer. Plan a nice dinner for this weekend. Use what you learned here. You will taste the difference. Your family will taste the difference. You will wonder how you ever cooked without one.