Baking Tips for Beginners: 14 Habits for Better Bakes
Your first bake feels nerve-wracking. You worry about flat cakes, burnt cookies, and dough that refuses to rise. I felt the same way years ago, standing beside a hard, dense loaf.
Then I learned a handful of simple habits, and every batch improved. These baking tips for beginners focus on skills, not fancy gear. You will learn how to measure, mix, time, and cool with confidence.
Here is what we cover: accurate measuring, oven heat, pan prep, mixing, and the small fixes for common flops. Pick one or two changes for your next recipe, and watch your results steady out.
Why Your First Bakes Go Wrong
Most baking mistakes trace back to three things. Bad measuring, wrong oven heat, and rushing steps.
Baking works like a science experiment. Change one ingredient amount, and the whole recipe shifts. Cooking gives you room to guess. Baking rewards precision.
The good news? You fix these problems fast. Once you nail the basics, your bakes turn reliable batch after batch.
Measure Flour With a Light Hand
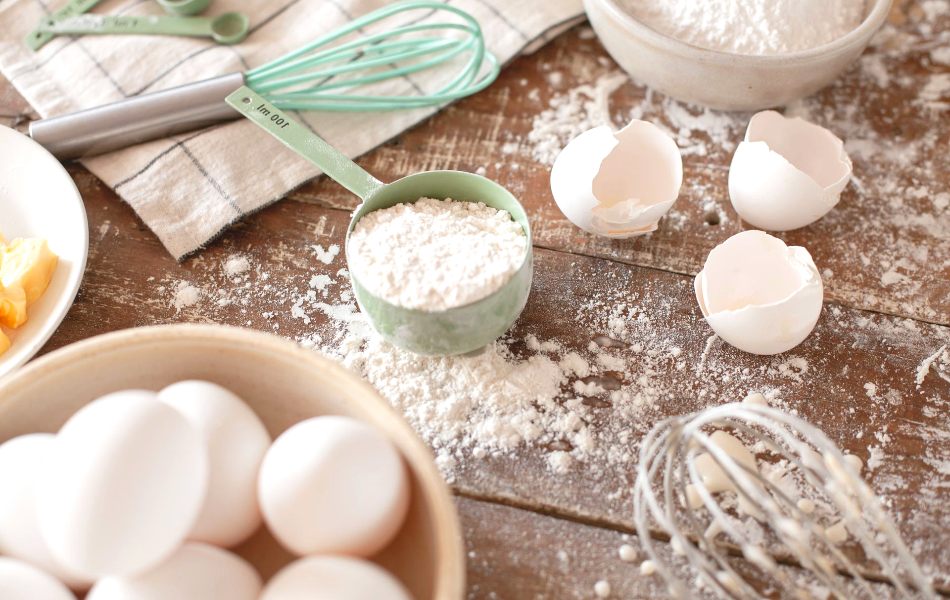
Your scale beats measuring cups every time. A cup of flour scooped from the bag holds up to 20% more than a leveled cup. Extra flour turns cakes dry and cookies tough.
Here is my go-to method:
- Weigh when you can. A kitchen scale costs around $12 and saves countless bakes.
- Spoon and level. Fluff the flour, spoon it into the cup, then swipe the top flat with a knife.
- Never pack the cup. Skip shaking or pressing the flour down.
I weigh my flour now. A 350g cake stays the same every single time. Consistency builds your confidence quick.
Pro tip: When a recipe lists both grams and cups, follow the grams.
Use Room-Temperature Ingredients When Asked
Soft butter, eggs, and milk blend evenly. Cold ingredients leave lumps or split the batter. Smooth batter holds air better during baking.
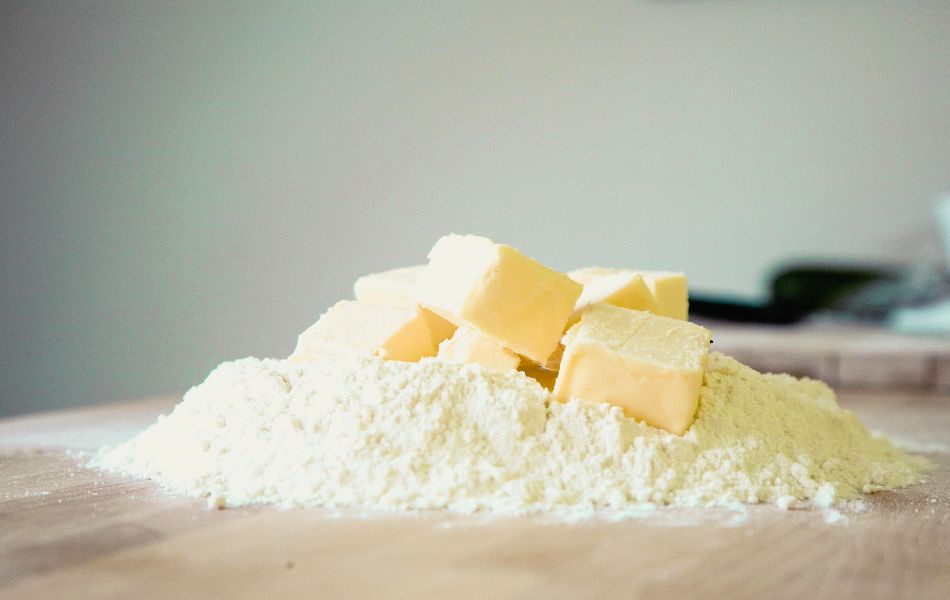
Take eggs and dairy out 30 to 60 minutes early. Cut butter into small cubes for faster softening. Your finger should leave a dent without sinking through.
Forgot to warm the eggs? Place them in a bowl of warm tap water for ten minutes. Skip hot water, since heat starts cooking the whites.
Know Your Oven’s True Heat
Your oven dial lies. Most home ovens run 25 to 50 degrees off the setting. A recipe says 350°F, but yours might sit at 320°F or 385°F. Such gaps explain soggy centers and dark edges.
The Fix: An Oven Thermometer
Buy a hanging oven thermometer for about $8. Hang it on the center rack. Preheat for a full 20 minutes, then check the reading. Adjust your dial to match.
Watch the Hot Spots
Ovens heat unevenly. The back corner often runs hotter than the front. Rotate your trays halfway through the bake. This one habit stops lopsided cookies and uneven cakes.
Takeaway: Trust the thermometer, not the number on the dial.
Read the Recipe Twice Before You Start
Slow down before you touch a single bowl. Read the whole recipe from start to finish. Look for hidden steps like a two-hour chill or overnight softening.
I once mixed cookie dough before spotting a chill step. My cookies spread into one giant flat sheet. Reading ahead saves you from those surprises.
Set out every ingredient first. Chefs call this “mise en place,” which means everything in its place. This habit keeps you calm and stops you forgetting the baking soda.
Prepare Your Pans Before Mixing
Sticky batter waits for no one. Prep your pan before combining wet and dry ingredients. This protects the rise and keeps cleanup easy.
- For cakes: Grease the pan, add a parchment circle on the base, then grease again. Your cake slides out clean.
- For cookies: Line trays with parchment or a silicone mat. Skip greasing directly, since extra fat makes cookies spread too far.
- For muffins: Paper liners work well for soft, fruit-heavy batter.
I leave a small parchment tab above each cake edge. The tab gives my fingers a grip, so cakes lift with fewer cracks.
Master the Mixing Method
How you mix changes your final texture. Overmixing builds too much gluten, the stretchy protein in flour. Too much gluten makes cakes rubbery instead of soft.
Follow these simple rules:
- Cream butter and sugar until pale and fluffy, around 3 to 4 minutes. Scrape the bowl halfway through.
- Add eggs one at a time, beating until streaks disappear.
- Fold in flour gently until no dry streaks remain, then stop.
Think of folding like tucking a blanket, not stirring soup. Slow and gentle keeps air in the batter. Trapped air gives you a light, tender crumb.
Fix a split mixture: Add one spoonful of the recipe flour and mix gently. The batter usually comes back together.
Match Flour to Your Recipe
Flour type shapes your final texture. Protein levels decide how tender or chewy your bake turns out.
- All-purpose flour: Medium protein for everyday recipes.
- Bread flour: High protein for chewy loaves and pizza.
- Cake flour: Low protein for a fine, tender crumb.
High protein builds strong gluten, which chewy sourdough needs. Soft cakes need weaker gluten to stay tender. Pick your flour based on the goal.
Check Your Leavening for Freshness
Old baking soda and baking powder lead to flat cakes and heavy muffins. Write the opening date on each container. Replace both after six to twelve months.
Test baking powder with hot water. One teaspoon should foam fast in a small cup. Test baking soda with vinegar or lemon juice. Strong bubbles show good activity. Weak fizz points to a tired container.
Store both in a cool, dark spot with the lids sealed tight. Moisture weakens them before you start.
Keep Salt in Sweet Recipes
Salt sharpens chocolate, vanilla, fruit, and caramel. Without it, sweet bakes taste flat. A small pinch brings balance without making dessert salty.
Use fine salt in batter, since it dissolves evenly. Around 1/4 teaspoon works in most cookie batches. Coarse salt creates harsh salty pockets, so save flaky salt for sprinkling over warm cookies.
Choose unsalted butter for full control. Salted brands vary widely in salt content.
Trust Your Senses, Not Only the Timer
Timers give you a starting point, not a finish line. Every oven and pan behaves a little differently. Start checking a few minutes before the listed time.
Learn the signs that a bake is done:
- Cakes: A toothpick shows moist crumbs, and the edges pull from the pan.
- Cookies: Edges look set while centers stay soft.
- Bread: Tap the bottom and listen for a hollow sound. Lean loaves finish near 190°F to 210°F inside.
I pull my cakes 5 minutes early to keep them moist. You learn these cues fast once you pay attention.
Resist Opening the Oven Door Early
Opening the door releases heat fast. Cakes and soufflés sink before their structure sets. Watch through the glass during the first part of the bake.
Wait until three-quarters of the bake time passes. Open the door briefly, then close it gently to avoid a shake.
My first sponge cake sank after three early peeks. Curiosity stole the heat each time. Now I trust the timer and the window.
Cool Bakes for the Right Time
Cooling finishes the bake. Hot cakes feel fragile and break during removal. Cookies also firm up while resting on the tray.
- Leave cakes in the pan for ten to fifteen minutes, then move to a wire rack.
- Cool cookies on the tray for five minutes, then transfer once the edges feel firm.
- Cool cake layers fully before frosting, since warm layers melt the icing.
A wire rack lets air flow underneath. Solid counters trap steam and turn bottoms soggy.
Start With Forgiving Recipes
Pick recipes with a wide margin for error. Some bakes punish tiny mistakes, and some forgive them. Build your skills on the gentle ones first.
Great starter bakes include:
- Banana bread: Overripe bananas add moisture and sweetness.
- Drop cookies: No rolling or shaping needed.
- Muffins: Fast to mix and hard to ruin.
- Sheet cakes: No layering or fussy frosting.
Save layer cakes, macarons, and laminated pastry for later. Nail the basics first, then stretch your skills.
Keep Notes After Every Bake
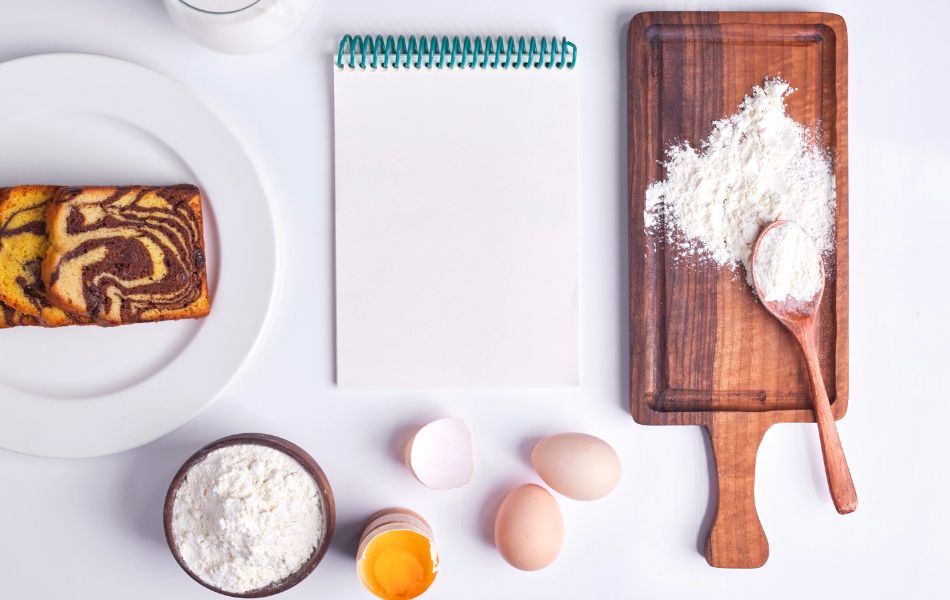
A small baking notebook turns mistakes into lessons. Record pan size, oven setting, bake time, and final texture. Add weather notes for bread or meringue.
Write one change for the next batch. Perhaps the cookies need two fewer minutes. Perhaps the cake wants more lemon zest.
Over time, your notes become a personal recipe guide. Those pages hold lessons no cookbook knows about your oven.
Common Mistakes and Quick Fixes
You will hit a few bumps early on. Keep this table near your workspace.
| Problem | Likely Cause | Quick Fix |
|---|---|---|
| Flat cookies | Butter too warm | Chill dough 30 minutes |
| Dense cake | Overmixed batter | Fold flour gently |
| Sunken middle | Door opened early | Wait until 75% baked |
| Dry crumb | Too much flour | Weigh with a scale |
| Burnt bottoms | Dark pan or low rack | Use a light pan, middle rack |
Bonus rescue: Crumble a dry cake into buttercream, roll into balls, and dip in melted chocolate for cake pops. Cube stale bread, toss with oil and herbs, and bake into croutons.
Handy Ingredient Swaps
Ran out mid-recipe? Keep these fixes in mind:
- No buttermilk? Mix 1 cup milk with 1 tablespoon lemon juice. Wait 5 minutes.
- No brown sugar? Add 1 tablespoon molasses to 1 cup white sugar.
- No baking powder? Use 1/4 teaspoon baking soda plus 1/2 teaspoon cream of tartar.
Write these on a card and tape it inside your cupboard.
Frequently Asked Questions
How long until I get good at baking?
You see steady results within a month of regular practice. Bake once or twice a week. Repetition builds muscle memory faster than reading alone.
Do I need expensive equipment?
No. A scale, mixing bowls, a whisk, and one baking sheet cover most recipes. Add tools slowly as your skills grow.
Why did my cake sink in the middle?
You likely opened the oven too early or underbaked it. Wait until the cake is 75% done before peeking.
Can I bake without a stand mixer?
Yes. A hand whisk and a wooden spoon handle nearly every beginner recipe.
See Also – Mastering Brown Rice Flour: 10 Essential Cooking Tips and Recipes
Your Next Steps
You now hold the core habits behind every better batch. Weigh your ingredients, test your oven, prep your pans, and mix with a gentle hand. Trust your senses, cool with patience, and jot one note after each bake.
Here is your recap:
- Weigh flour for consistent results.
- Test your oven with a cheap thermometer.
- Start with muffins or banana bread.
- Keep notes and adjust one thing each time.
Pick one easy recipe this week. Bake it twice, and notice how much smoother the second round feels. Every confident baker started right here, one batch at a time.