Melt Peanut Butter: Methods and Creative Uses
Learn how to melt peanut butter for tasty toppings and delicious treats. Peanut butter, a beloved comfort food, not only stands as a delightful treat on its own but also harmonizes beautifully with flavors like banana and chocolate. Countless recipes use melted peanut butter, in both sweet and savory dishes. Mixing melted peanut butter into sauces and soups elevates their taste. Let’s learn how to melt peanut butter and create yummy treats!
Quick Answer
Learn the various methods to melt peanut butter for delicious treats and savory dishes. Discover its health benefits, peanut butter making process, and why melting it enhances recipes. Explore recipes and FAQs for a comprehensive understanding.
What Is Peanut Butter?
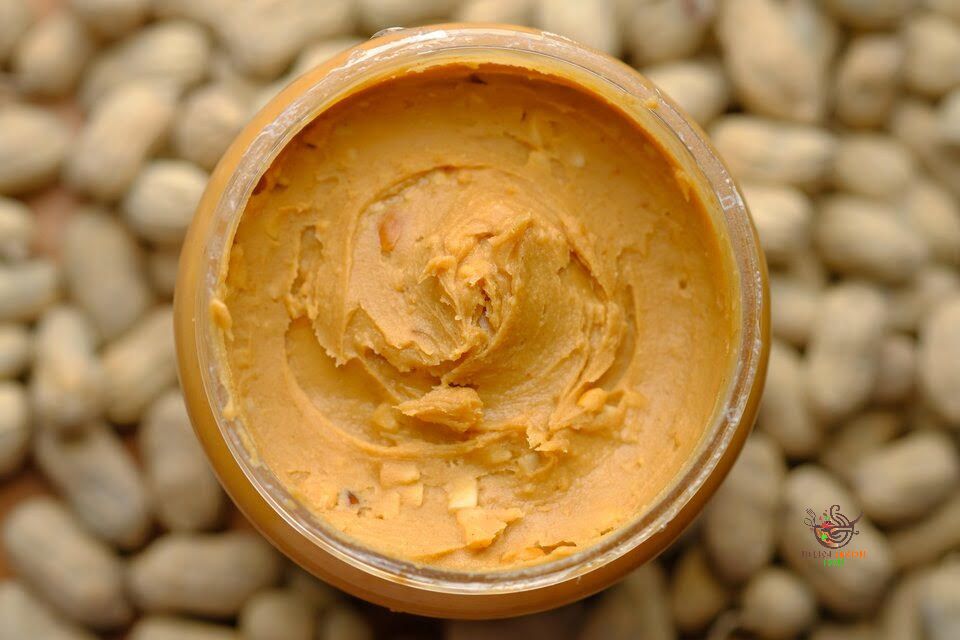
Peanut butter is a smooth spread created by grinding roasted peanuts. Peanut butter is an adaptable ingredient used in various ways. One of the most popular ways we enjoy peanut butter as kids is in the well-known PB&J (peanut butter and jelly) sandwich.
Peanut Butter Making Process
The process starts with peanuts being roasted and their shells removed. Afterward, they grind the peanuts into a paste. Following this, they add and mix in sugar, salt, and various other ingredients. The resulting peanut butter is then packaged into jars and sent to your nearby grocery store, where you can purchase it in either creamy or crunchy varieties.
Peanut Butter’s Health Benefits
Peanut butter isn’t just tasty; it’s good for you too! Here’s why:
- Protein Power: It’s rich in protein, which is good for your body.
- Essential Nutrients: Peanut butter contains potassium and vitamin E.
- Heart-Friendly: It’s beneficial for your heart and can support heart health.
- Digestive Aid: Helps your digestion work smoothly.
- Cancer Defense: Some studies suggest it might even help protect against cancer.
Why Melt Peanut Butter?
While you don’t need to melt it for every dish, there are many where it’s a great idea. For instance, in pasta sauces, melted peanut butter blends more smoothly than a large clump. You can also drizzle melted peanut butter on pastries for a professional touch.
Melting Peanut Butter: Various Methods
You can achieve melting peanut butter through various methods, each providing a different level of simplicity. These methods ensure that your peanut butter melts without burning. Follow the instructions for each approach below.
1. Microwave Method
To melt peanut butter using a microwave, follow these simple steps:
- Measure the desired amount of peanut butter and transfer it into a microwave-safe bowl.
- To make it easier to remove the peanut butter later, consider spraying your measuring cup with cooking spray.
- Cover the bowl with a microwave-safe lid or paper towel to prevent splatters. Microwave it on high for 30 seconds.
- Use a timer to ensure you don’t overheat it. Safety tip: Use pot holders to handle the hot bowl.
- After each 30-second interval, remove the bowl and stir the peanut butter thoroughly. It will gradually become warm and have a thick, liquid consistency.
- Depending on your microwave, you may need up to 1 minute and 30 seconds, but be cautious not to overcook it.
2. Stovetop Method
To melt peanut butter on the stovetop, follow these steps:
You’ll need:
- A saucepan
- A spoon or spatula
Instructions:
- Use a low heat setting on your stove. High heat can quickly burn peanut butter, causing it to stick to the pan and potentially ruin your cookware.
- Stir the peanut butter continuously to prevent it from sticking to the pan, even at low temperatures.
- Stir in a circular motion and scrape the sides of the pan to prevent sticking.
- As soon as your peanut butter reaches the desired consistency, remove the pan from the stove.
- Avoid over-melting to prevent it from becoming too thin and watery for your recipe.
- Typically, it takes no more than 5 minutes for peanut butter to melt using this method.
3. Whisk Method
For a melted texture without heating the peanut butter, try whisking it. This method is ideal when your recipe doesn’t require warm peanut butter. Here’s what you’ll need and how to do it:
You’ll need:
- A bowl
- A whisk
Instructions:
- Take the peanut butter you need and place it in a spacious bowl.
- Whisk the peanut butter vigorously until it achieves a runny consistency.
4. Blender Method
If you want to maintain a cool peanut butter temperature and avoid strenuous whisking, use a blender to achieve a smooth texture quickly. Here’s what you’ll need and how to do it:
You’ll need:
- A blender
- A large spoon or rubber spatula
Instructions:
- Add the desired quantity of peanut butter to the blender.
- Ensure the lid is firmly in place.
- Blend until it starts to become liquid.
5. Food Processor Method
A food processor quickly thins and melts peanut butter, making it one of the fastest methods.
You’ll need:
- A food processor
- A jug of water
- A spatula
Instructions:
- Peanut butter is too thick to blend alone, so add two tablespoons of water for each tablespoon of peanut butter.
- Add the peanut butter and the appropriate amount of water to your food processor.
- Begin the processor, opting for lower power for a thicker consistency or higher for complete liquefaction.
- Blend for 30 seconds and adjust as needed.
- Based on thickness, you may need a spatula to scoop out the peanut butter, so have it ready.
6. Ladle in Liquid Method
When making a recipe with liquid ingredients, consider using the ladle-in-liquid method to blend peanut butter with a warm liquid.
Here’s how:
- Measure the desired peanut butter amount into a bowl.
- Heat the required additional liquid (like milk or water) in a small pan over low to medium heat until warm.
- Pour the warm liquid into the peanut butter bowl and mix until the peanut butter becomes runny.
- Add this melted mixture to your recipe.
7. The Unconventional Method
This method may seem mysterious in how it works, but it’s worth a try to witness its magic. All you’ll need is a jar of peanut butter and a long spoon.
Instructions:
- Set aside the lid from the peanut butter jar.
- Insert a long spoon into the peanut butter, going as deep as the amount you plan to use.
- Rotate the spoon and move it up and down for a minute or two, and you’ll soon see your peanut butter melt like magic.
Where to Use Melted Peanut Butter?
Here are various delicious ways to use melted peanut butter:
- Drizzle it over ice cream
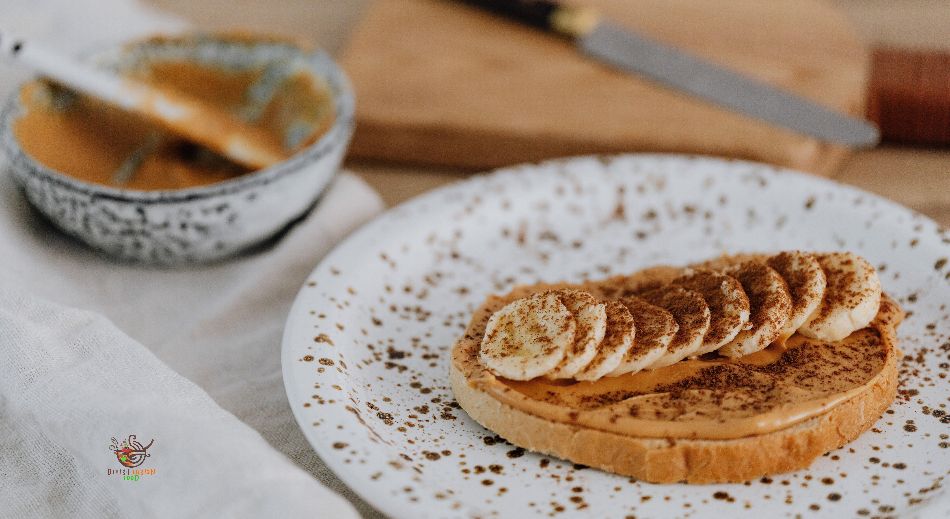
- Use it as a pancake topping, especially on peanut butter banana pancakes.
- Create a luscious brownie drizzle.
- Add a flavorful touch with a cookie drizzle.
- Enjoy it as a dip for strawberries or banana bites.
- Try it in a Peanut Butter Banana Oatmeal Bake.
Melted peanut butter is very versatile. It’s not just for sweets; you can also use it in savory dishes. To make a quick peanut sauce, mix it with tamari, maple syrup, garlic, ginger, and lime juice right after microwaving. Work swiftly because melted peanut butter solidifies as it cools. If you need to adjust its consistency, add water for a smoother texture or refrigerate to thicken it. Enjoy exploring the many uses of melted peanut butter!
Recipes Using Melted Peanut Butter
Explore these simple recipes that call for melted peanut butter:
- Vegan Ice Cream: Create a delicious ice cream using bananas, peanut butter, and your favorite jam. It’s a satisfying dairy-free treat.
- Marbled Brownies: Elevate your brownie mix by swirling in melted peanut butter, and top it off with a scoop of ice cream for an indulgent dessert.
- Protein Shakes: Power up your post-workout recovery with peanut butter shakes. Blend peanut butter with almond milk, greens like kale or spinach, cacao nibs, bananas, and apples for a tasty treat.
See Also – Does Parmesan Cheese Melt? The Answer May Surprise You!
Frequently Asked Questions
Does melted peanut butter reharden?
Yes, it will harden as it cools.
Can you easily blend melted peanut butter with milk?
Mixing during melting is easier with tools like a food processor, microwave, or stovetop; by hand, it’s more challenging.